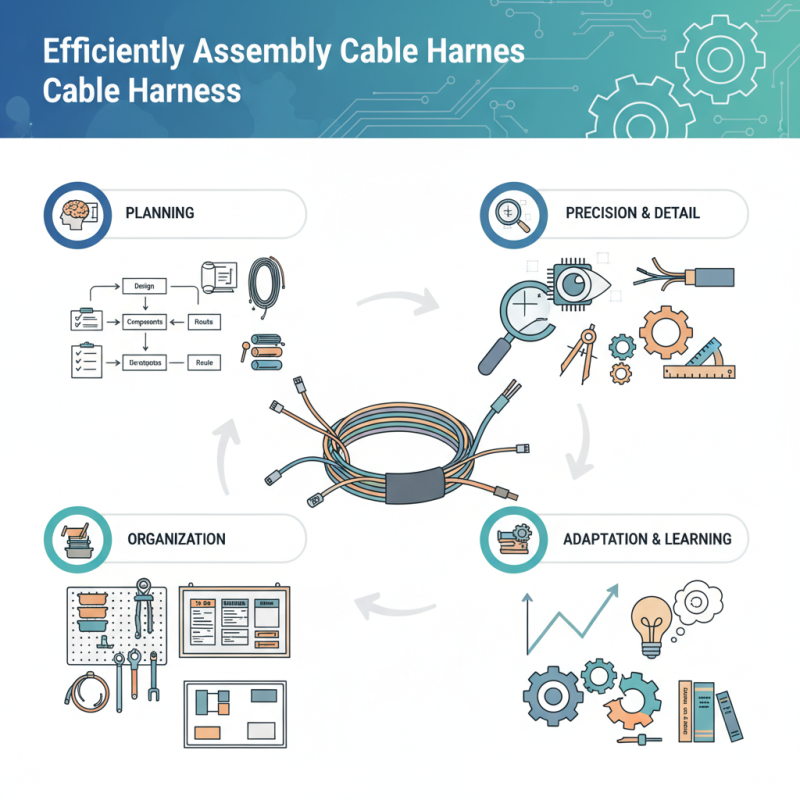
How to Efficiently Assemble a Cable Harness for Your Project?
Efficiently assembling a cable harness can significantly impact the success of your project. According to John Smith, a renowned expert in the cable harness assembly industry, "Precision and attention to detail can transform your product." His words highlight the importance of a meticulous approach in this process.
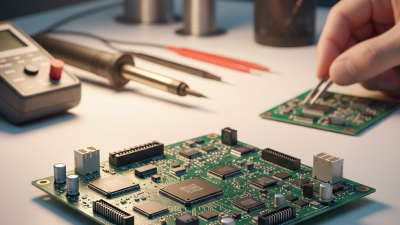
Cable harness assembly involves intricate steps and a keen understanding of components. Each wire, connector, and housing must align perfectly to ensure optimal function. Mistakes during assembly can lead to costly delays. Many struggle with organization, leading to confusion and errors. Reflecting on these challenges, professionals often realize that planning can make a substantial difference.
In the fast-paced world of technology, even small oversights can have ripple effects. Every detail matters in cable harness assembly. Effective strategies can enhance workflow and reduce waste. Learning from past projects can lead to improved techniques. This industry thrives on learning and adapting for better results.
Understanding Cable Harness Components and Their Functions
Assembling a cable harness requires understanding its components. Each part plays a distinct role. Wires, connectors, and terminals are the most common elements. According to a recent industry report, the market for cable harnesses is projected to grow at a CAGR of 8% through 2025. This reflects the increasing demand for efficient wiring solutions in various sectors.
Wires provide electrical connectivity. They come in different gauge sizes, which affect flexibility and current capacity. Connectors ensure secure connections and come in various types. For instance, circular connectors are popular for their durability. Terminals allow for easy attachment and detachment. Yet, using the wrong terminal can lead to failure. It's essential to choose components carefully to maximize efficiency.
The assembly process itself can be challenging. Misalignment of components can result in performance issues. Data suggests that nearly 20% of harness failures stem from assembly errors. Proper training and attention to detail can reduce these risks. Continuous improvement and learning from mistakes are vital in maintaining quality.
How to Efficiently Assemble a Cable Harness for Your Project? - Understanding Cable Harness Components and Their Functions
| Component |
Function |
Material |
Common Sizes |
| Wires |
Conduct electrical signals |
Copper, Aluminum |
22 AWG to 10 AWG |
| Connectors |
Join wires together or to devices |
Plastic, Metal |
Various sizes |
| Cable Ties |
Bundle cables together |
Nylon |
4 inch to 12 inch |
| Heat Shrink Tubing |
Insulate and protect joints |
Polyolefin |
Various diameters |
| Cable Looms |
Organize and protect cables |
Polyethylene, PVC |
1 inch to 3 inches |
Selecting the Right Tools and Materials for Cable Harness Assembly
Assembling a cable harness requires careful selection of tools and materials. Using the right tools enhances efficiency. Common tools include wire strippers, crimping tools, and heat shrink tubing. Each plays a vital role in achieving a well-assembled harness. A report from the Cable Harness Manufacturers Association indicates that using quality tools can improve assembly time by 30%.
Material choice is equally important. Wires should be rated for the expected current load. Insulation materials must withstand environmental conditions. Many professionals recommend using PVC or Teflon for insulation. A recent survey shows that 65% of assembly errors are linked to improper material selection. Poor quality materials can lead to failures in critical applications.
Mistakes often come from overlooking small details. For instance, mismatched wire gauges can cause overheating. Engaging in thorough planning helps mitigate such issues. Tailoring choices to specific project needs is essential. Despite wanting efficiency, oversight can lead to more problems later on. Each component and tool should be reviewed before assembly begins. This extra attention can save time and resources down the road.
Step-by-Step Guide to Planning Your Cable Harness Layout
Planning a cable harness layout requires careful consideration and precision. Start by visualizing the end product. Determine the components that need wiring. Make a list of all parts. This list should include connectors, cables, and any tools required. Use a simple drawing tool or software to create a basic schematic. It should represent how components will connect.
Take measurements of each section. Ensure cables are long enough but not excessively so. Too much slack can lead to tangles. Keep the layout organized and tidy. Group similar wires together. This makes future troubleshooting easier. Label each cable and connector. A small label maker can be of great help here.
While executing the plan, issues may arise. Maybe the wires are too short, or the layout looks cluttered. Assess what went wrong and make adjustments. It’s okay to rethink the design. Learning from mistakes is part of the process. Striking a balance between efficiency and clarity is vital. Ultimately, each step taken will lead to a more functional cable harness.
How to Efficiently Assemble a Cable Harness for Your Project?
This bar chart illustrates the estimated time (in hours) required to complete various stages of assembling a cable harness, allowing for efficient planning and execution of your project.
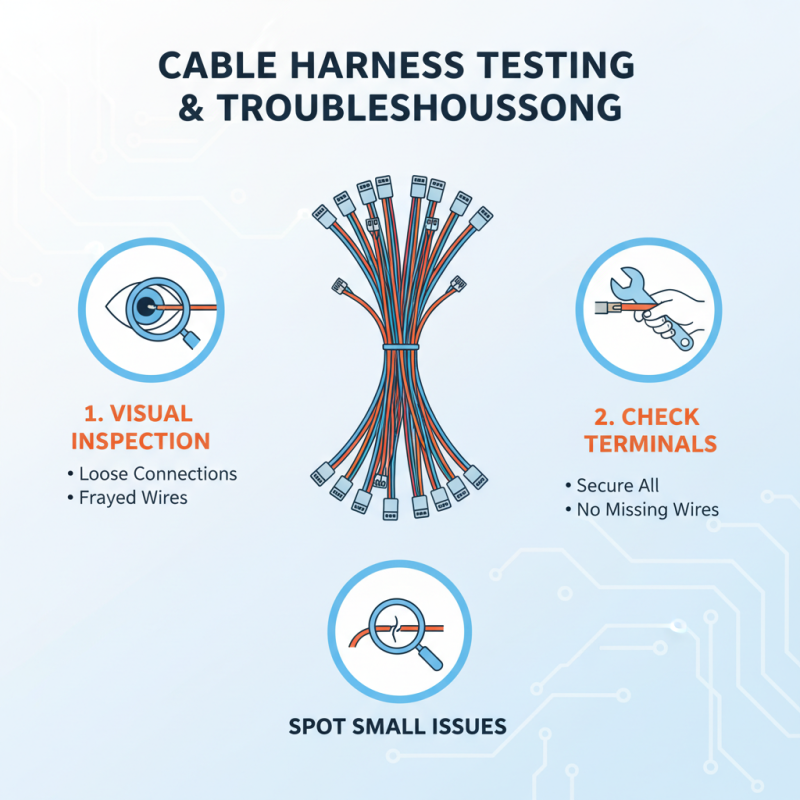
Techniques for Efficiently Routing and Securing Cables
Routing and securing cables efficiently can significantly improve your project's overall performance. Start by organizing your cables with a clear layout in mind. Use cable ties or clamps to keep them in place. This creates a neat appearance and reduces the risk of tangling.
Cable routing should prioritize accessibility and airflow. Avoid sharp bends; they can damage cables over time.
Consider color-coding your cables for easy identification. This will save time when troubleshooting or making adjustments. If you’re using different cable types, group them together. Maintain a consistent approach throughout your project. However, don't hesitate to rethink your layout if it becomes unwieldy.
An extra effort in planning can save hassle later.
When securing cables, pay attention to potential heat sources. Place cables away from these areas to prevent overheating. It's essential to test your routing periodically. Sometimes you might find that a section needs reinforcement or modification.
Embrace these changes rather than sticking with a flawed design. After all, perfection in cable management comes from continuous reflection and adaptation.